Fitting an Australian Design Rules approved Digital Speedo to the Honda CBR-EVR.
- evconversionrider
- May 14
- 3 min read
With the bike now practically complete, we need to calibrate the speedometer to ensure it meets the requirements for road use.
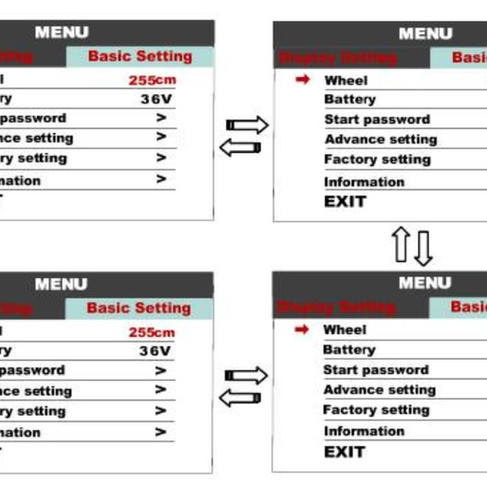
We moved the bike to a private road to calibrate the speedometer connected to the controller. Unfortunately, the only calibration option available in the settings is the wheel diameter in inches.
We used a GPS speedometer to calibrate the bike, starting at 25 inches, and the bike is moving faster than the speed shown on the display.
To save time, I set the calibration to the maximum of 31 inches and conducted the test again. The bike's ground speed remains faster than what's shown on the display, and because of the sprocket ratios between the motor and the wheel, the speed does not increase linearly.

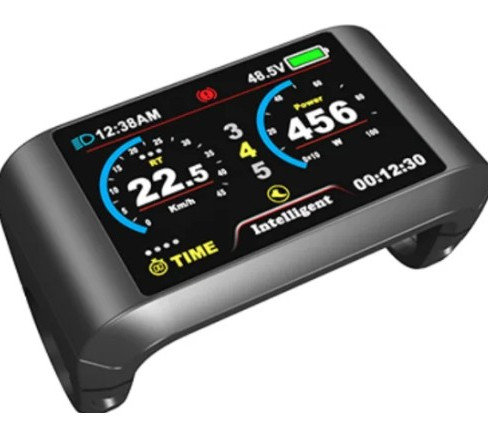

I believe this setup would work well for Hub Motors, but it's evident that we cannot use the speedometer for this project.
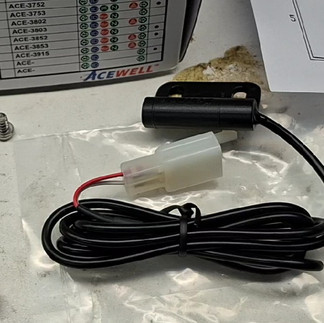
I found an ADR-approved digital speedometer online, complete with a magnetic wheel sensor that can be calibrated to the millimetre of the wheel's circumference.
I purchased a new Ace Well ACE-3700 digital speedometer from S3 Performance. Since they were out of stock for this model, they provided the ACE-3701 instead. This unit is identical but includes an outer casing with warning lights.
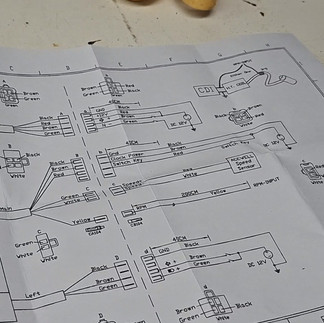
The Ace Well kit includes the digital speedometer, wiring diagram, programming instructions, wiring, and a magnetic speed sensor kit.
I also ordered a carbon fibre-look cover to upgrade the appearance of the new speedometer.


I will install the new digital speedometer to the left of the controller display, positioning it in the same spot as the original speedometer on the petrol bike.
With the holes now marked, I have drilled the fixing holes to 6mm and the cable penetration to 25mm. We can now secure the speedometer in place.
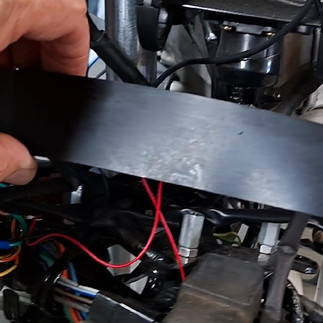
Initially, I attempted to connect the wires by moving the Dash Plate forward, but it became clear that this wasn't feasible. Therefore, I had to remove the front fairing to access the wires and connect the battery and ignition power to the speedometer.


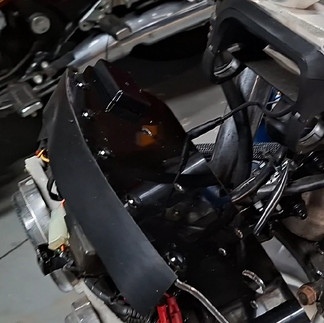

Now that I've powered the new speedometer, let's see how it looks on the bike.

Next, we need to examine the functionality of the speedometer's magnetic wheel speed sensor and determine the optimal location and position for mounting the speed sensor.
The Speedo kit includes a 6mm magnetic bolt, but the bolts securing the brake disc are 8mm. I managed to find an 8mm bolt among the removed bolts from the bike that will work. Since it's a steel bolt, I was able to drill an 8mm hole into the bolt head to fit the extra magnet provided in the kit. Let's see if the magnet is going to fit.
With the magnetic bolt now sorted, we can proceed to finalise the location and design of the bracket that will secure the speed sensor in place.
I discovered that the most suitable choice for making a bracket was to use 25 x 3mm Aluminium because it is easy to work with.
Once I cut the piece and positioned it, I realised I didn't need to bend it because the sensor aligned with the magnetic bolt.
I drilled two 8mm holes for attaching the bracket to the forks, then drilled and tapped two 4mm holes for securing the sensor.


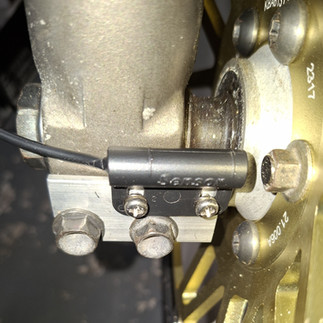
Now that we know the bracket fits, I will remove it and refine its shape a bit. Then, I'll secure the sensor cable to the fork with a cable ties and follow the flexible brake line up to the speedometer.
With the front fairing now installed, you can view the dash layout from the rider's perspective.

With the bike reassembled, it's time to celebrate the new speedometer and take it to our test track to check the calibration.
With the new speedometer installed, calibrated, and tested, I can now proceed with completing the final inspections on the EV electrical installation to register the bike.
I located an engineer who can certify the Electrical Installation and collaborates with TMR to certify vehicles for road use. Hopefully, all the work I've done on the bike complies with all the relevant regulations.
In my upcoming blog post, we will explore the procedure we have used for conducting the final inspections before submission to TMR.


Comments