Adding the final touches to complete the Honda CBR-EVR.
- evconversionrider
- Apr 9
- 2 min read
We are now on the home stretch to finish the build on this EV conversion. At the end of this session, the bike will be completed and ready for testing.
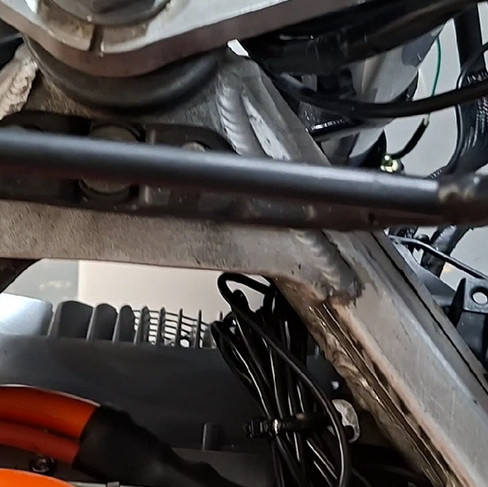
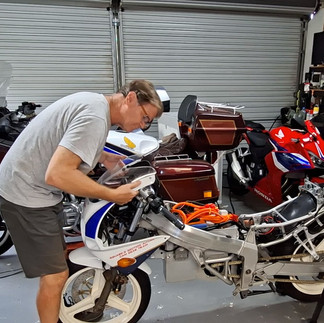
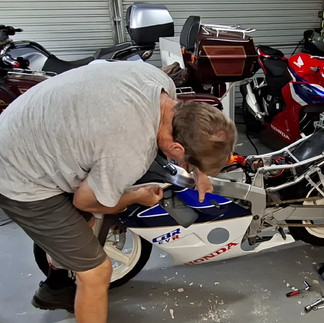
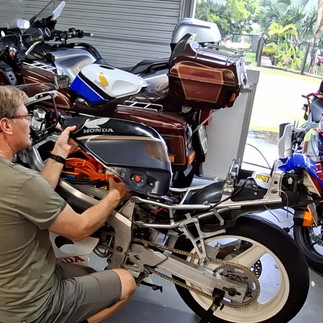
The initial task involves fastening and securing the remaining wires beneath the tank. I must make sure all the wires are firmly secured and won't shift during the bike's normal operation due to vibrations from traveling over uneven road surfaces.
I will make sure all wires are secured with cable ties, beginning with the motor control and BMS screen wire, leading to the bike's dashboard and forward controls. Additionally, I will install a rubber strip across the front of the dash plate to conceal the wires visible through the windscreen.


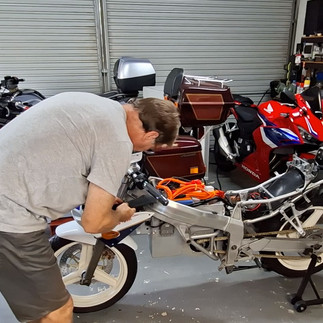
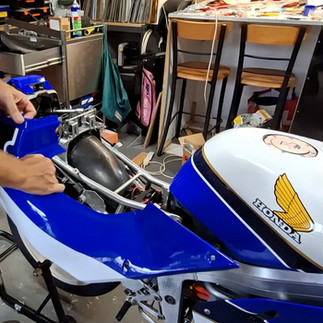
The subsequent step involves installing the silicon terminal covers over the copper connection between the Contactors and the terminals on the Tank Switch for isolating the Main Charger.

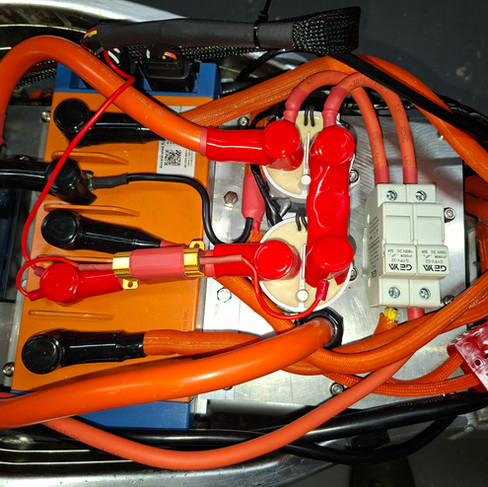


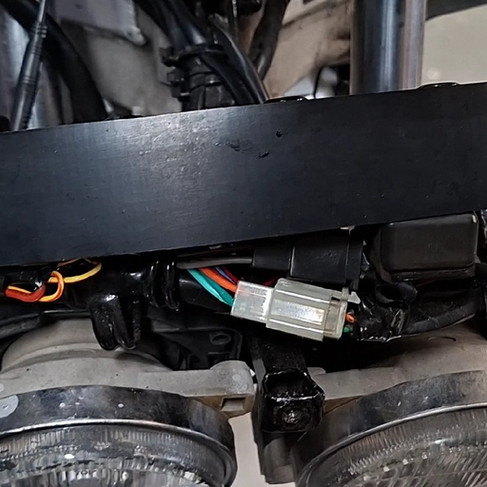
Next, use cable ties to secure all the cables surrounding the Motor Controller, Contactors, and Fuses, ensuring they are clear of any metal parts of the tank once it is positioned.
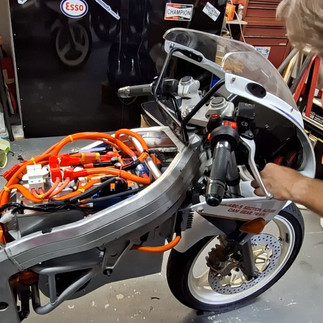
This is the last test fitting of the tank before we proceed with the final assembly of the Bike's Fairing.
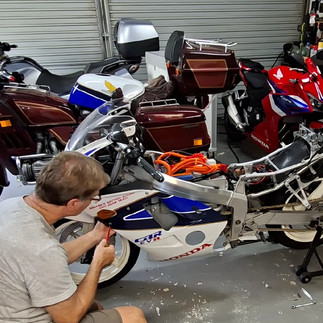
Before beginning the final assembly, I decided to clean the Front Forks to ensure that both the fork surface and the seals were clean and lubricated. I used a fine pad to rub the forks and applied some rubber grease to the rubbers and seals, hoping to extend their lifespan.
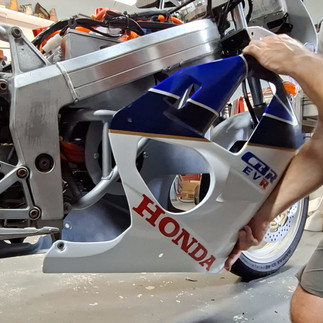
I will start by installing the front fairing, along with the windshield and mirrors.


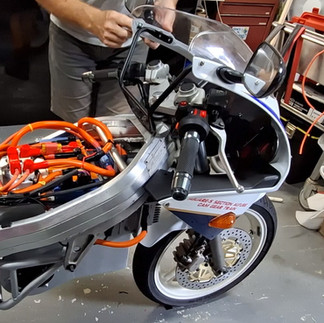


With the front fairing now installed, I can attach the side panels surrounding the battery and motor assembly.


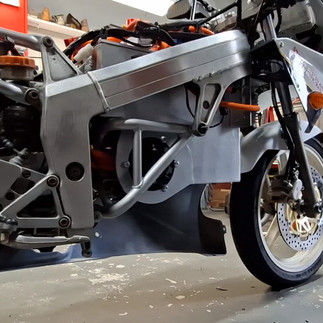


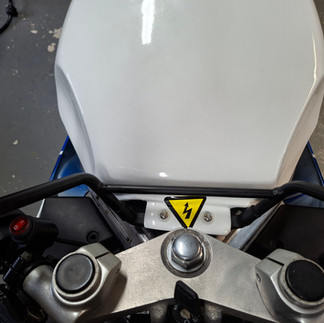
Before installing the old fuel tank, which now serves as the cover for all electrical controls, we must attach High Voltage warning labels to the wiring atop the battery enclosure and near the tank's fixing points. This is to alert anyone working on the bike of the dangerous voltages present once the cover is removed.
Next, we can connect the Charger Isolation Switch, install the tank and tank cover to complete this stage, preparing for the final panels and the seats.


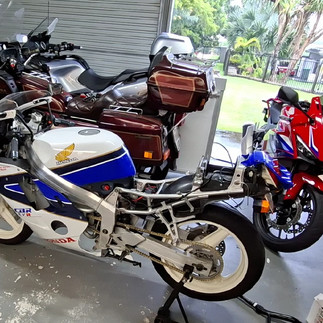


We are now at the stage of installing the last panels and seats, which will complete this section of the project.


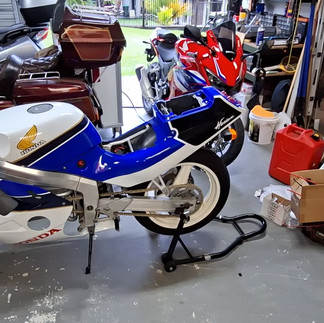


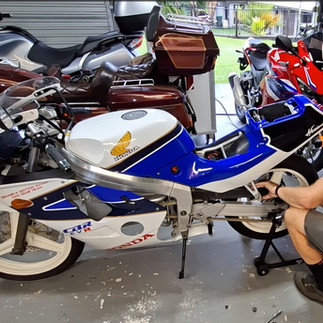


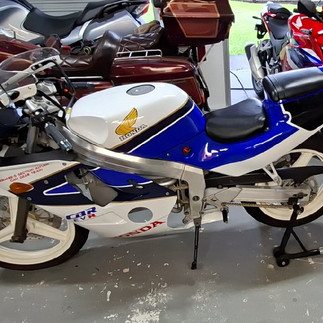
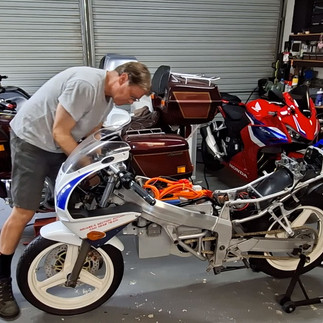
With the bike now fully assembled, let's take a walk around it.
In our next blog post, we will examine the bike's operation and the calibration of the digital speedometer to prepare the bike for final inspections.


Comments